Goat Milk Lotion Receipe
The post you have all been waiting for is finally here! How to make amazing goat milk lotion
Stephanie Smotherman
1/8/20256 min read
Have you tried BB Farms & Soap Co. lotion yet? I know I maybe a little biased, but it is amazing! If you haven't tried it, you need to. You can purchase here for as little as $5.00.
Now, it may seem counterproductive to be writing a post telling you all how to make my lotion, but it is so amazing and I am so proud of it I want to share it with the world! I spent a long time scrolling through Pinterest looking at goat milk lotion recipes after I got my first milking nanny. I always used goat milk lotion and I wanted to add more critters to my funny farm after we moved in. It then dawned on me after I started milking my goats that, Hey, I can make my own lotion! (I know, profound idea). Let me tell you, I tried A LOT of recipes. And some of them were ok, and some of them weren't. But I didn't find anything that wowed me.
I tried recipes that left me feeling greasy, and ones that left me feeling slimy, and ones that left me feeling dry. I then started doing research on what each ingredient in these recipes was actually supposed to do for my skin. And that was the key to concocting my winning formula. I like to keep things simple. I didn't want 100 different ingredients that I would have to store somewhere in my house. And I wasn't even thinking of the fact that I would turn this into a business, that was just my OCD needing everything to be neat and tidy at all times. I picked not only the ingredients that I thought would be the best for my skin, but also the easiest to work with. When I was experimenting with all the other recipes I tried, there were some ingredients I decided I did not want to deal with, the worst being coco butter! It is rock hard and no fun, in my opinion. An unpopular opinion, but another thing I hated about all the DIY recipes was the fact that they had no preservative and had to be kept in the fridge and only lasted two weeks tops before they started molding. I don't know about you, but I hate putting cold lotion on after getting out of a nice steamy shower. So my recipe does include a preservative that allows it to be shelf stable. The preservative is needed to be kept out of the fridge, the formula does include goat milk after all. If you wanted to skip the preservative you can, but then you will need to store it in the fridge and use it quickly. I did my research on preservatives, and this is the one I liked the most. If you want to try others, be sure to follow the instructions, as they are all different.
Then something magical happened. I made the perfect formula! I was so excited I started having my friends and family try it. And they are the ones that encouraged me to start selling it. There are a lot of other things that have happened along the way, such as business plan competitions, more goats, more product creation, grant writing and vendor shows, but we will cover that in later posts. You are all here today to get my recipe. So, with no further anticipation, here it is...
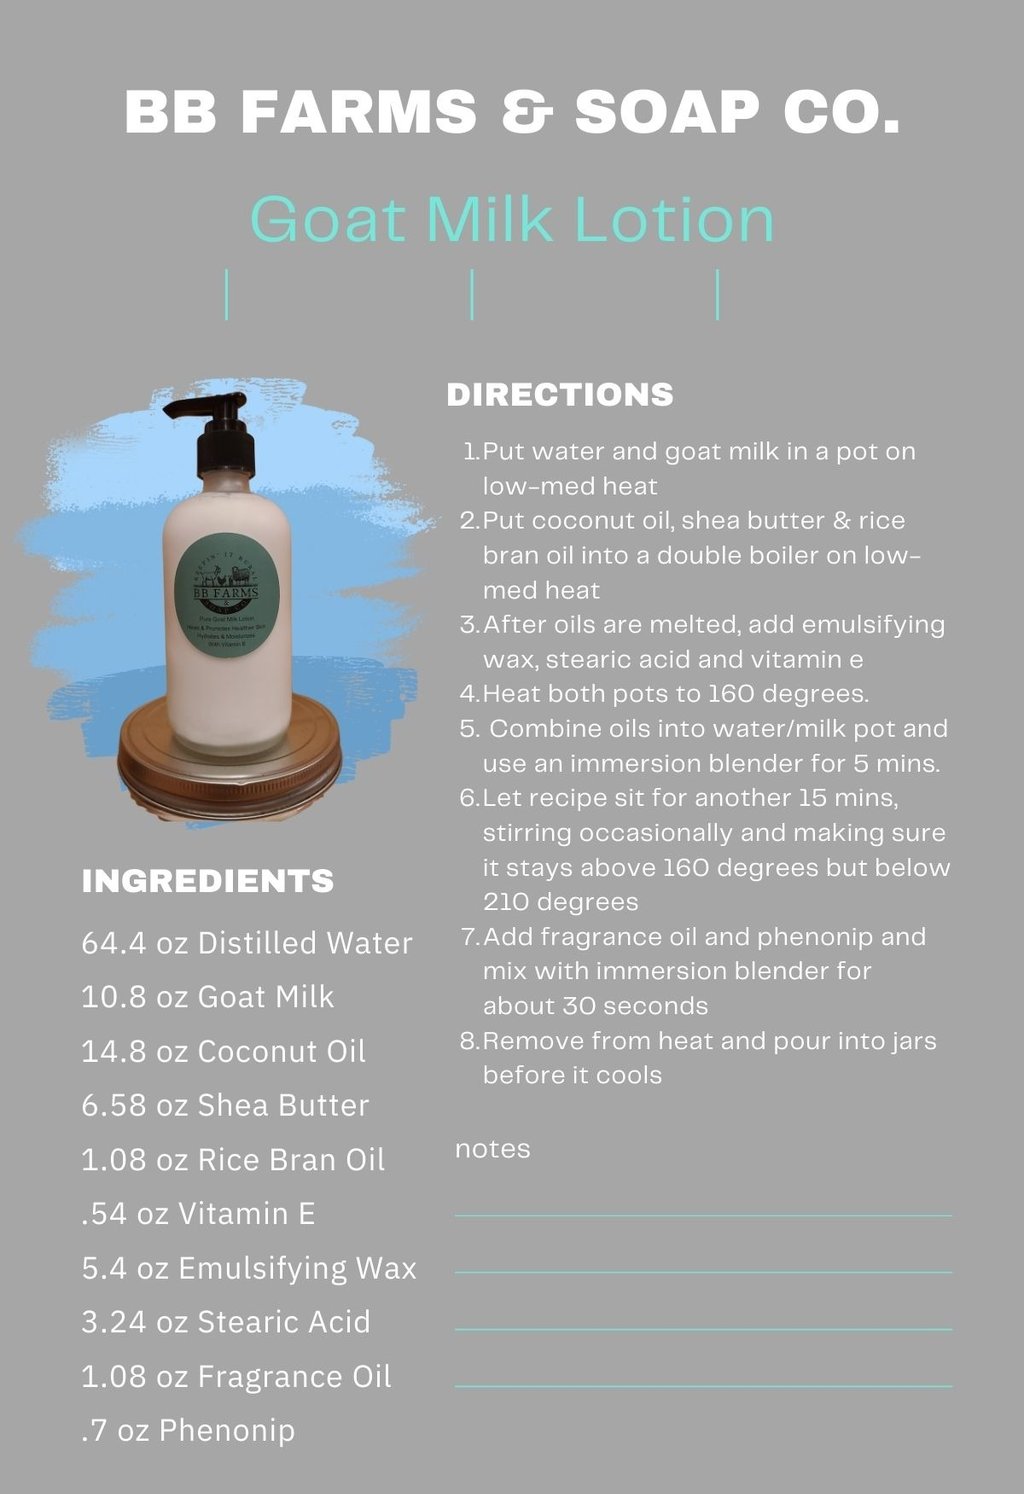
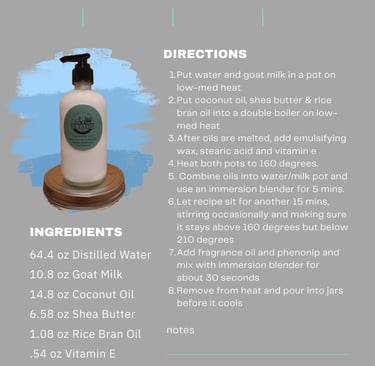
BB Farms & Soap Co. Goat Milk Lotion Recipe (you can click each ingredient to take you to the blog page with all the amazing facts)
Distilled Water 64.8 oz
Goat Milk 10.8 oz
Coconut Oil 14.58 oz
Shea Butter 6.48 oz
Rice Bran Oil 1.08 oz
Vitamin E .54 oz
Emulsifying Wax 5.4 oz
Stearic Acid 3.24 oz
Fragrance Oil 1.08 oz
Phenonip .7 oz
And that is it! All the ingredients I use to make wonderful, healing, hydrating, moisturizing, fast-absorbing, non-greasy, long-lasting goat milk lotion. Now here are the steps!
Measure out by weight your water and milk products. I just place a big bowl onto my kitchen scale, fill with one to the correct amount, hit tare, and then fill with the other to the correct amount. Then dump into a large pot and place on the stove on low to medium heat. (see my post on lotion equipment here!)
Measure out by weight your coconut oil, shea butter and rice bran oil. I do this the same way that I do the liquids. Set a large bowl on your kitchen scale and add each ingredient, then tare, and add the next ingredient. No sense in them all having their own bowls and making more dishes! Remember, I said I like to keep it simple. After you have them measured out add them to your double broiler and turn on low heat.
As those two pots are warming, I like to measure out the rest of my ingredients. I will measure out the emulsifying wax and stearic acid together in the same manner as above. Then I get out my jewelry scale and measure out the vitamin e into its own measuring cup, as well as the fragrance oil and phenonip, each in their own measuring cups.
Once the coconut oil and shea butter are melted to a completely liquid state, I add the vitamin e, emulsifying wax and stearic acid and let it melt down and combine.
Throughout the process I am constantly checking the temperatures on my pots. I want to get them to 160 degrees. But you must be careful with the milk and water pot specifically, you do not want it to get over 210 degrees and start boiling. If this happens, just dump it out and start over with that pot. When they are both at 160 degrees (or close, if one is higher and one is lower it is not a big deal. I'm not a stickler for perfection when it comes to these things) I will add the oils from the double broiler into the water and milk pot. As I am adding it in, I am using my immersion blender. I will continue using my blender for 5 minutes constantly. (see which blender I prefer on my blog post here)
After using the immersion blender for 5 minutes, I will let the mixture sit on low-med heat for another 15 mins. Check the temperature frequently, as it is important it stays above 160 degrees but under 210 degrees. I will occasionally zap the mixture with my immersion blender to keep the temperature constant throughout.
At about 18 minutes, I will add my fragrance oil and phenonip with the help of the immersion blender. A lot of people and the actual fragrance oil instructions will tell you to only add them at a low temperature. I have found that it makes no difference. My lotion still smells fantastic when adding them at higher temps. And the same goes for the phenonip. Like I said before, I am not a stickler for rules and convenience is my thing.
You are then all set to bottle your lotion! I like to use a big bowl with a pour spout. At this point I am selling for retail, so I will grab my kitchen scale and fill each container to the correct weight. If you are just using this and giving it away to friends and family you can pour it into anything you would like. Wide-mouth mason jars work well.
And there you have it! My lotion recipe and instructions on how to make it!
Notes
This recipe makes a fairly large batch. It will make about 12 eight oz jars. You could cut it in half if you would like.
If you want to skip the fragrance oils you certainly can! It will be just like my unscented version
You could try essential oils, however I have not and do not know if it will mess with the structure and bonding of the ingredients. If you try it let me know!
Do not stress about the time of the lotion on the stove. I make double batches of this back-to-back, and will have 3 recipes all at different stages. As long as it sits at 160 for at least 20 mins you are going to be fine. Some of mine end up sitting for 40+ minutes while I am bottling the previous batch.
Before I start my lotion recipes I will sterilize my containers. I use 8 oz glass bottles and 2 oz plastic jars. I will rinse them in a highly diluted bleach formula and then put in a baby bottle dryer with UV sterilization light. I would recommend doing something to get your containers fairly clean. If your mixture molds, it is likely because of contamination of the jar.
You can leave out the preservative, but know that you will need to store it in the fridge and use it quickly
CUSTOMER CARE
Powered by Zyro.com